Setup and Integrate Donatio with Classy
Learn to connect classy with your Donatio Application

OVERVIEW
Get your Classy Application connected with Donatio
SETUP PROCESS
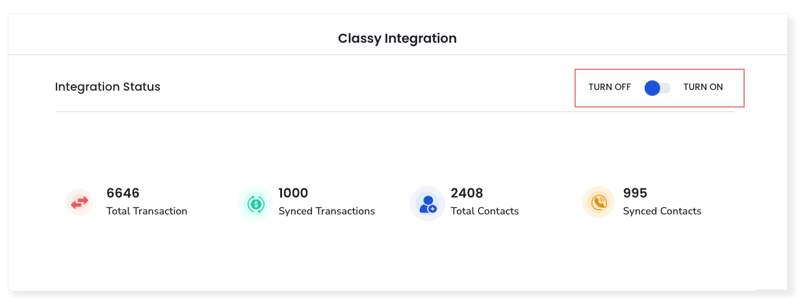
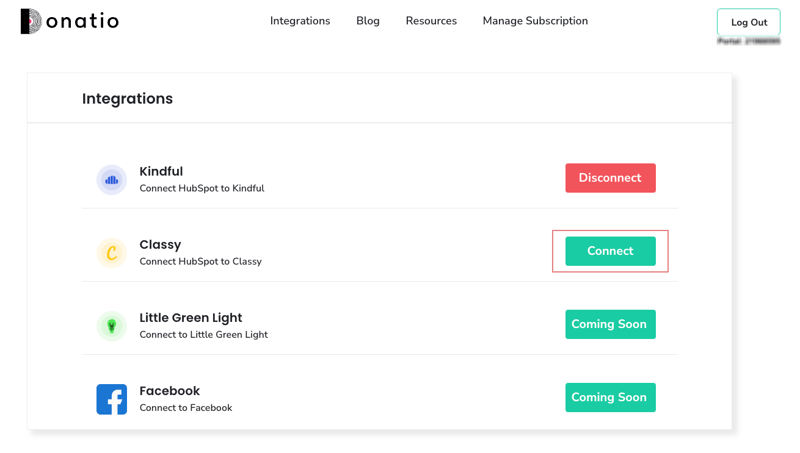
1. Click on Classy Integration.
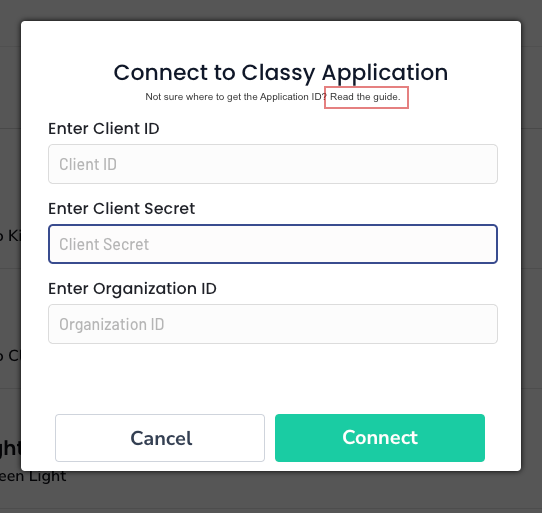
2. Fill out the required information and click on connect and skip to step 11, If you are not sure where to get this information continue this setup guide.
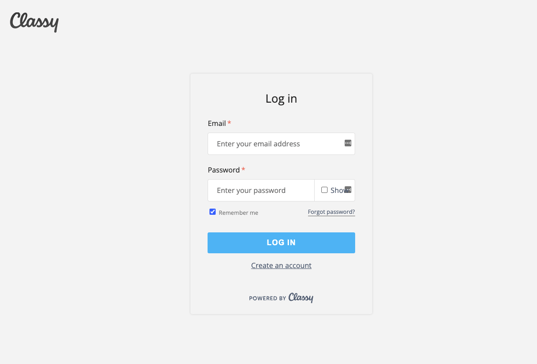
3. Go to the main Classy Page and click on the Login button to get started.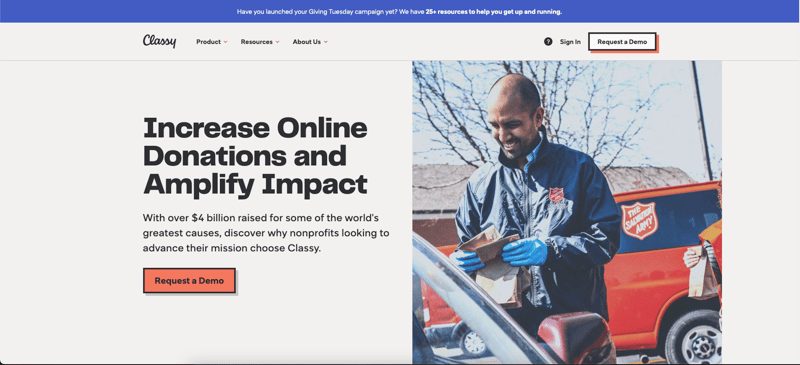
4. You will be redirected to Classy Login if you are not already logged In
5. Next, click on manage under My Organizations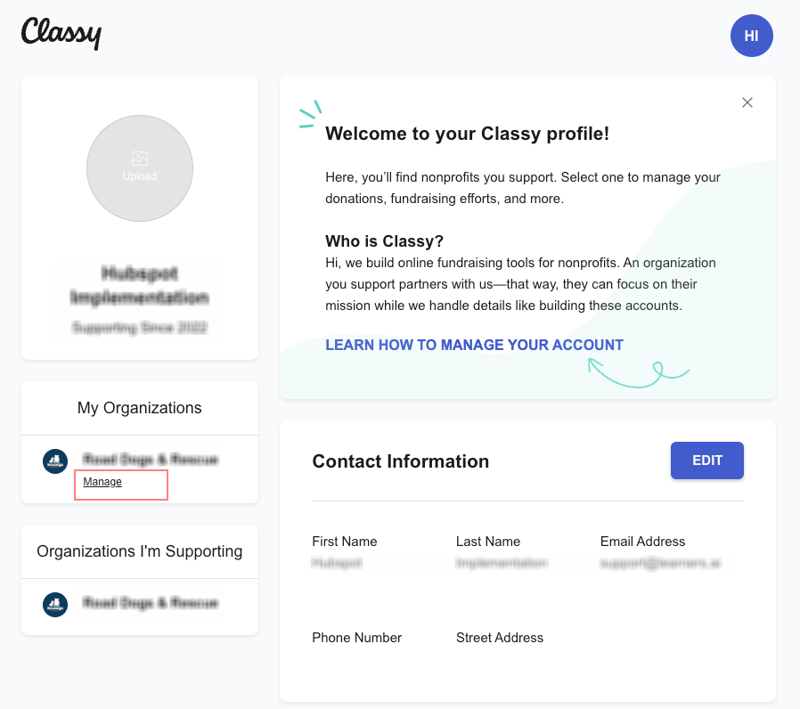
6. Next, Click on Apps & Extension and then Classy API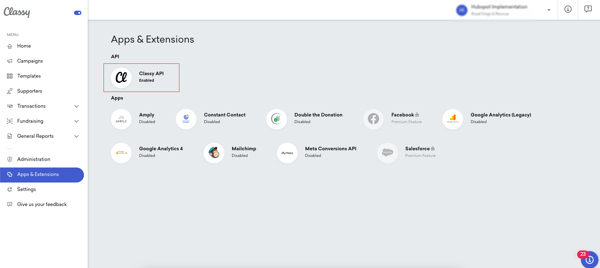
7. Create a new application. Give the application a name and a redirect Url of your website.
8. Once the application is created, Copy the Client Id and Client Secret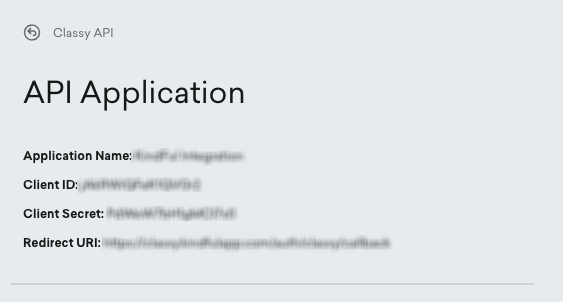
9. On the first screen (Classy Dashboard), you’ll see the Organization ID at the end of the URL. This will be a numeric value found after "/admin" as can be seen in the screenshot below.
10. After putting the required information, click connect